Mounting OLC-D1
The OLC-D1 consists of two parts: an opto-electronic unit and a prism unit.

1 | Prism unit | 4 | Connecting cable |
2 | Glass cone | 5 | Screwing cap |
3 | Opto-electronic unit |
The prism unit of OLC-D1 is mounted instead of a sight glass:
- Unscrew the union nut.
- Remove sight glass.
- Check if glass cone of prism unit is clean on inside and outside and clean if necessary.
- Insert the gasket.
- Put on the prism unit and tighten it with the union nut.
- Test pressure equipment tightness.
- Mount the completely dry opto-electronic unit. Carefully push the opto-electronic unit into the prism unit as far as it will go.
- The OLC-D1 locks out if the opto-electronic unit is not installed completely. In this case the red LED at the OLC-D1 flashes.
- Firmly tighten the screwing cap manually.
- Ensure that the cable connection always points downwards.
For technical data see enclosed manufacturer's information.
If the liquid level should be monitored via a sight glass in addition to the opto-electronical monitoring, a Rotalock T-joint must be mounted in place of the sight glass. See following figure.
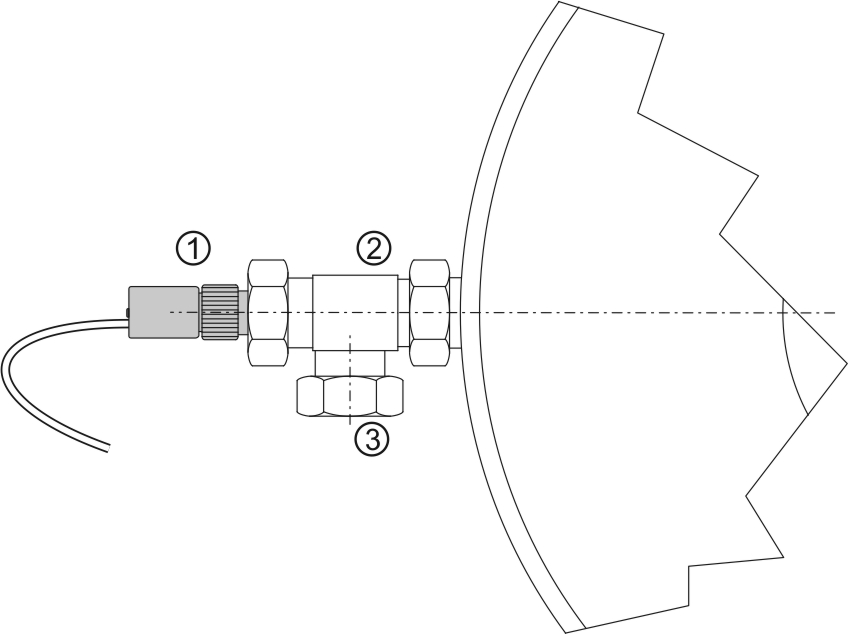
1 | OLC-D1 | 3 | Sight glass |
2 | Rotalock T-joint, part no. 365 433 56 |